
Want to create cool videos for YouTube, TikTok, or Instagram without ever showing your face, using your voice, or editing for hours? Good news—you can automate the whole thing using a tool called n8n, and in this blog post, I’ll show you exactly how.
By the end, you’ll know how to:
- Get script ideas
- Generate voiceovers
- Create visuals
- Build full videos that are ready to upload!
Let’s get started.
What Is n8n and Why Use It?

N8N is an automation platform that helps you connect apps and services together to do tasks automatically. You can use it to create a system that:
- Writes video scripts
- Finds images
- Creates voice overs
- Produces videos
- And sends them to your inbox!
No editing skills needed.
Step 1: Set Up n8n With Hostinger
To start using n8n, you need to host it online. You have three options:
1. Host Locally (Free but Harder)
You can install n8n on your own computer. It’s free, but a little tricky to set up.
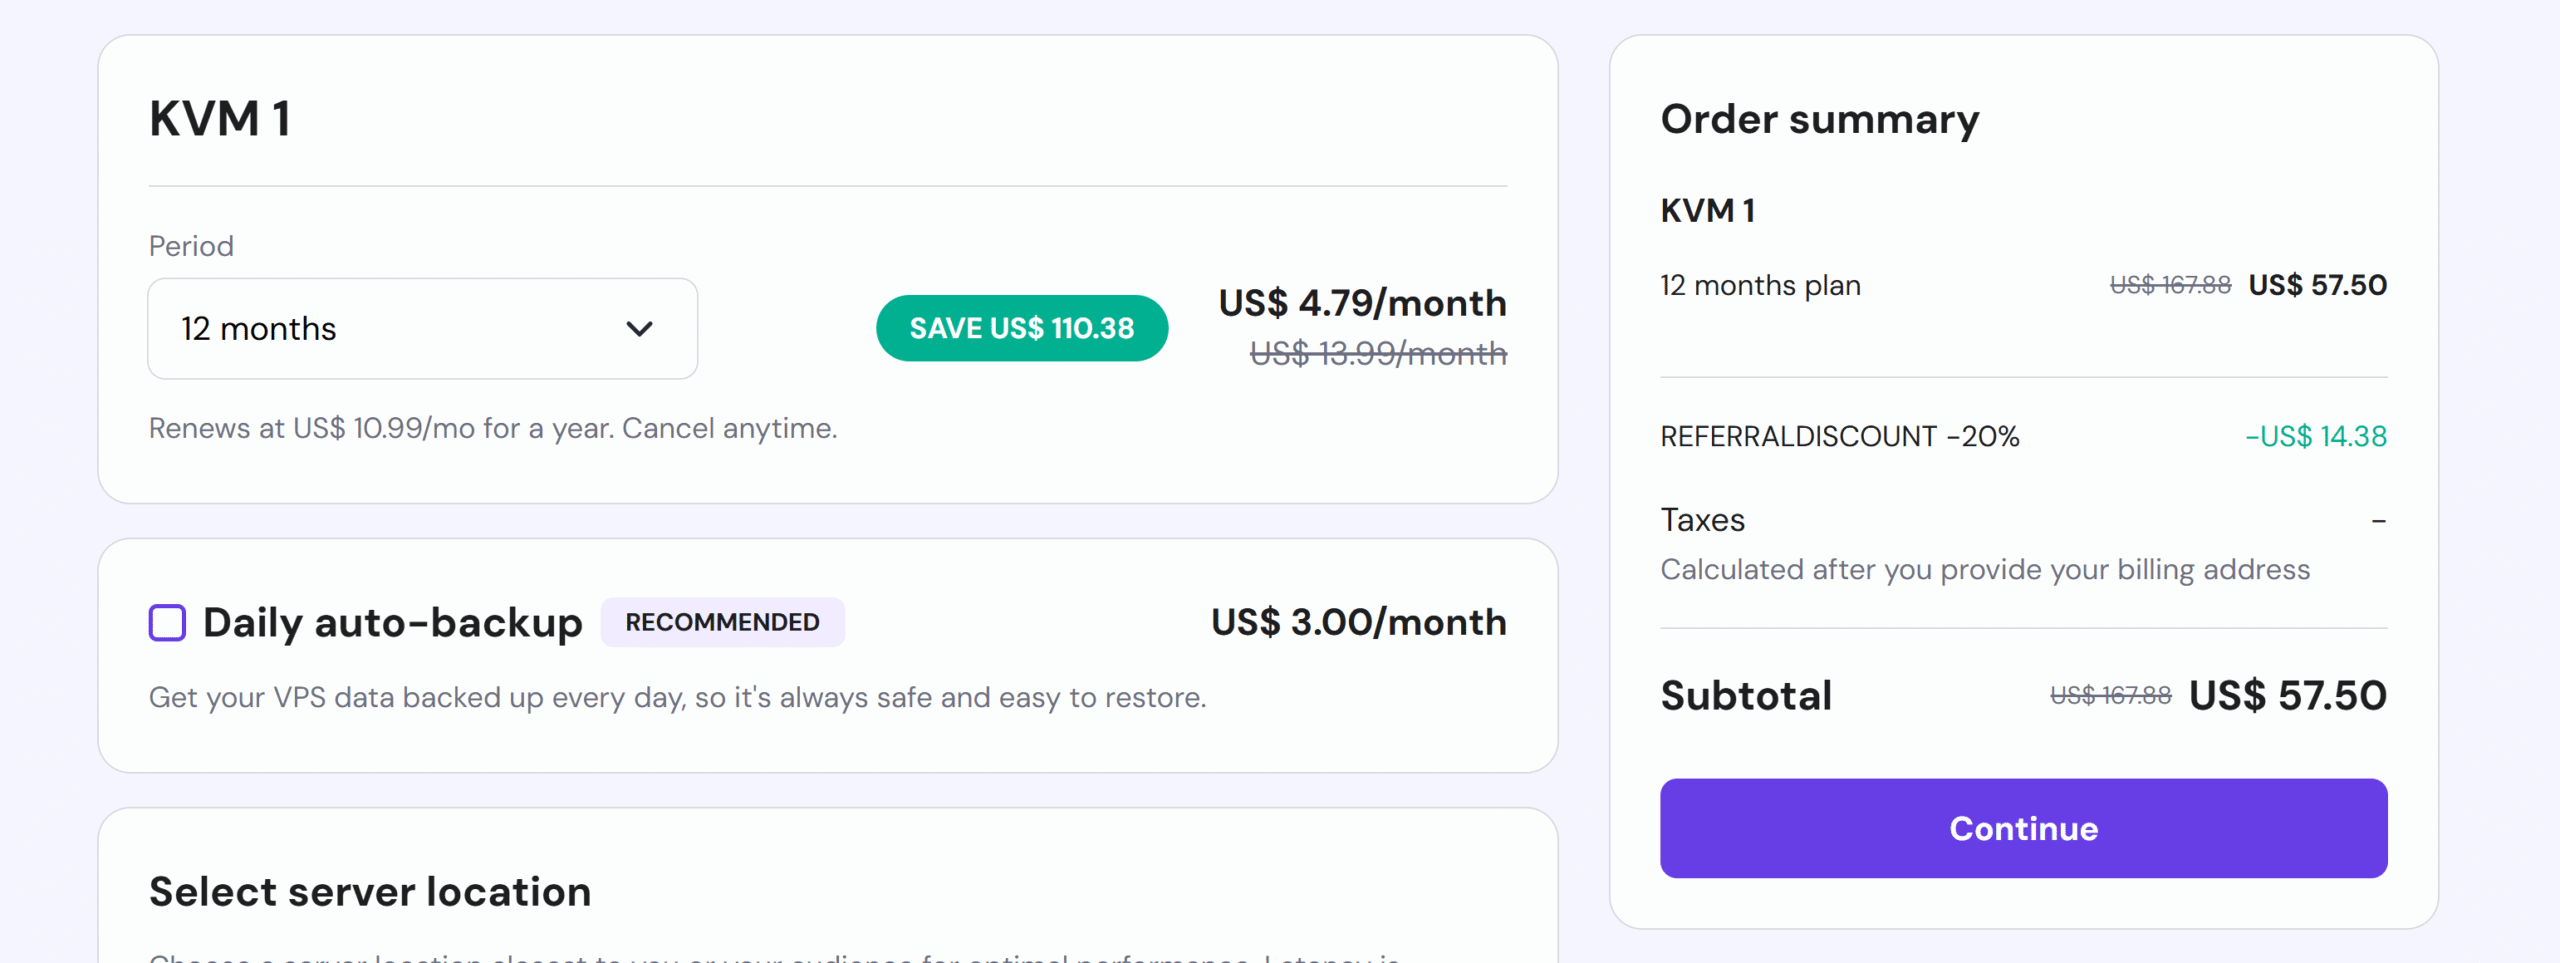
2. Use Hostinger (Recommended)
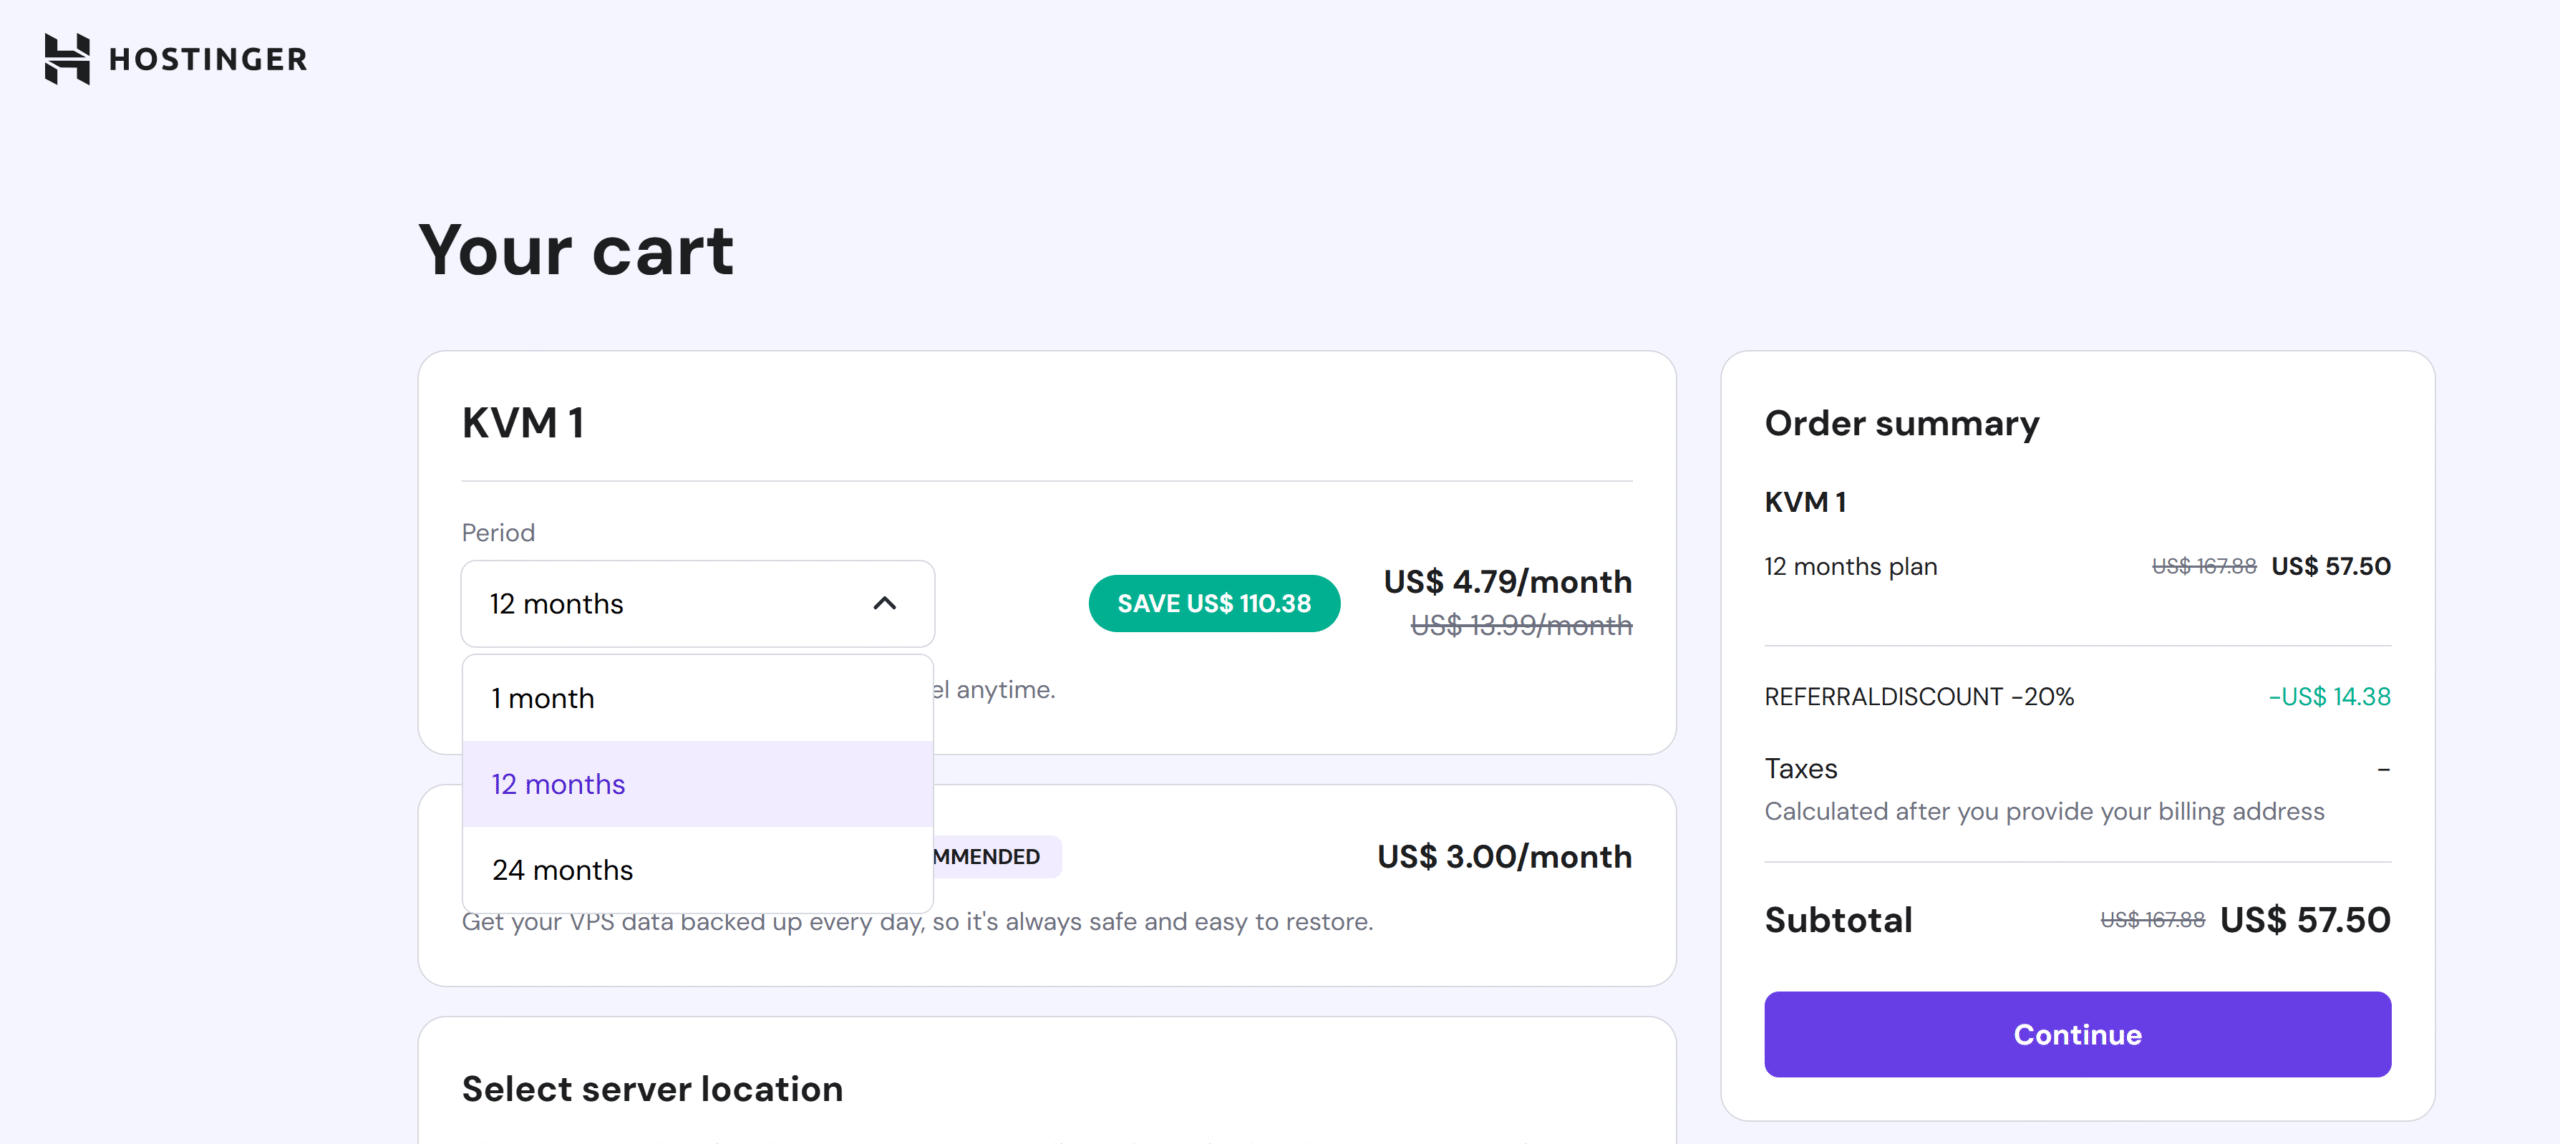
Hostinger makes it easy and affordable to host N8N. It costs just $4.79/month. You’ll also get:
- Unlimited workflows
- Unlimited runs
- Full control
3. N8N Cloud (More Expensive)
The official cloud hosting by N8N costs around $24/month and has fewer features.
👉 We’ll use Hostinger in this guide, because it’s cheaper and better for beginners.
How to Host N8N on Hostinger
- Click the link
- Choose your plan (12 months gives the best deal).
- Fill out your info and payment details.
- Once you pay, your n8n hosting will be ready to go.
Step 2: Set Up the n8n Automation
Start n8n
After payment, go to your Hostinger dashboard and click “Go to Setup”.
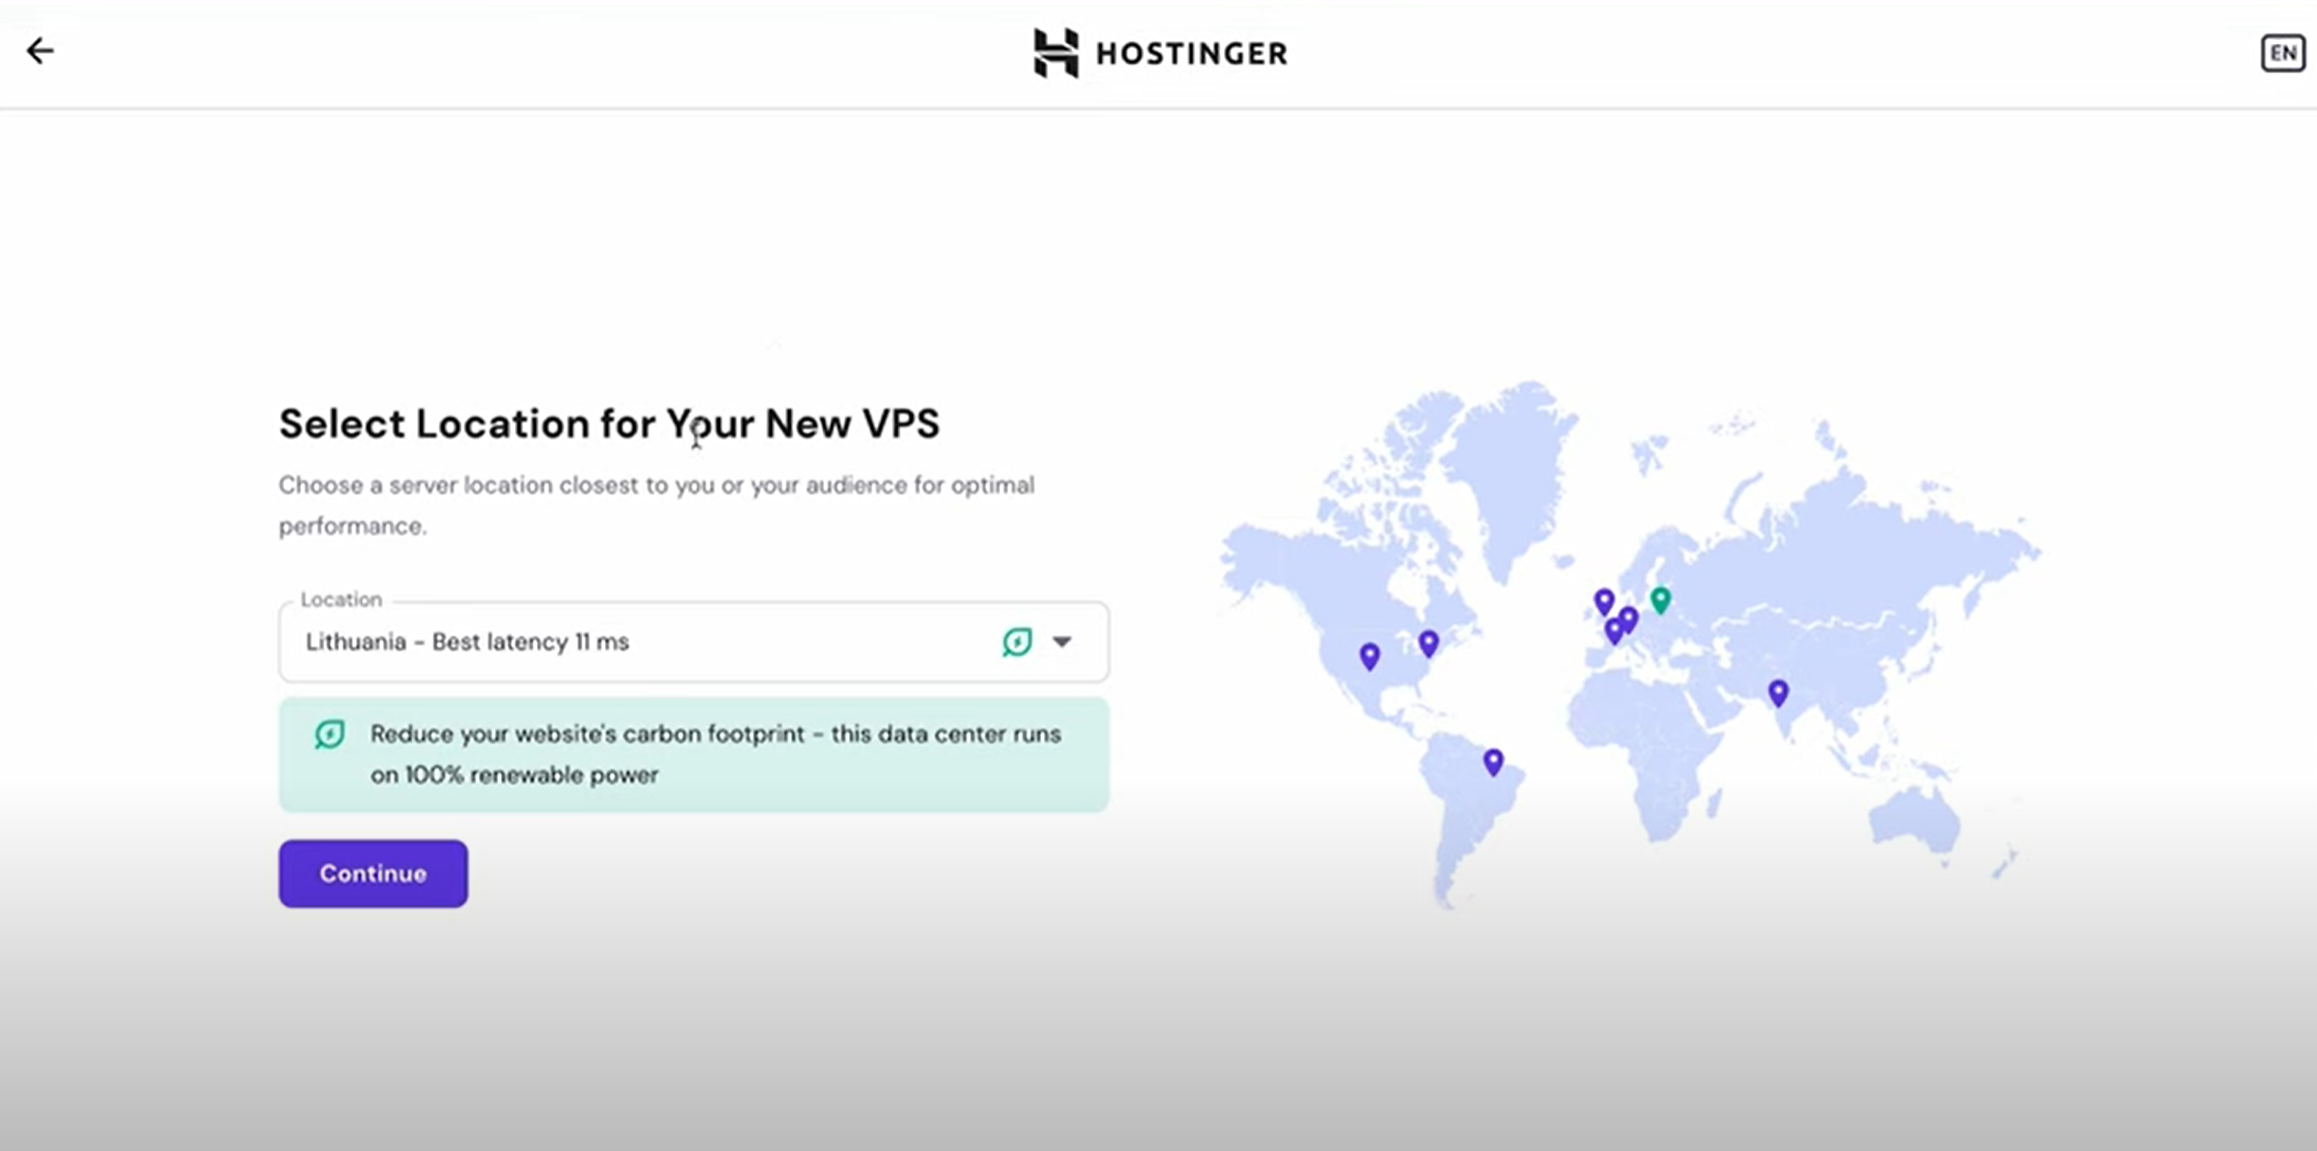
Fill in your details, hit Next, Then Select your nearby location and continue.
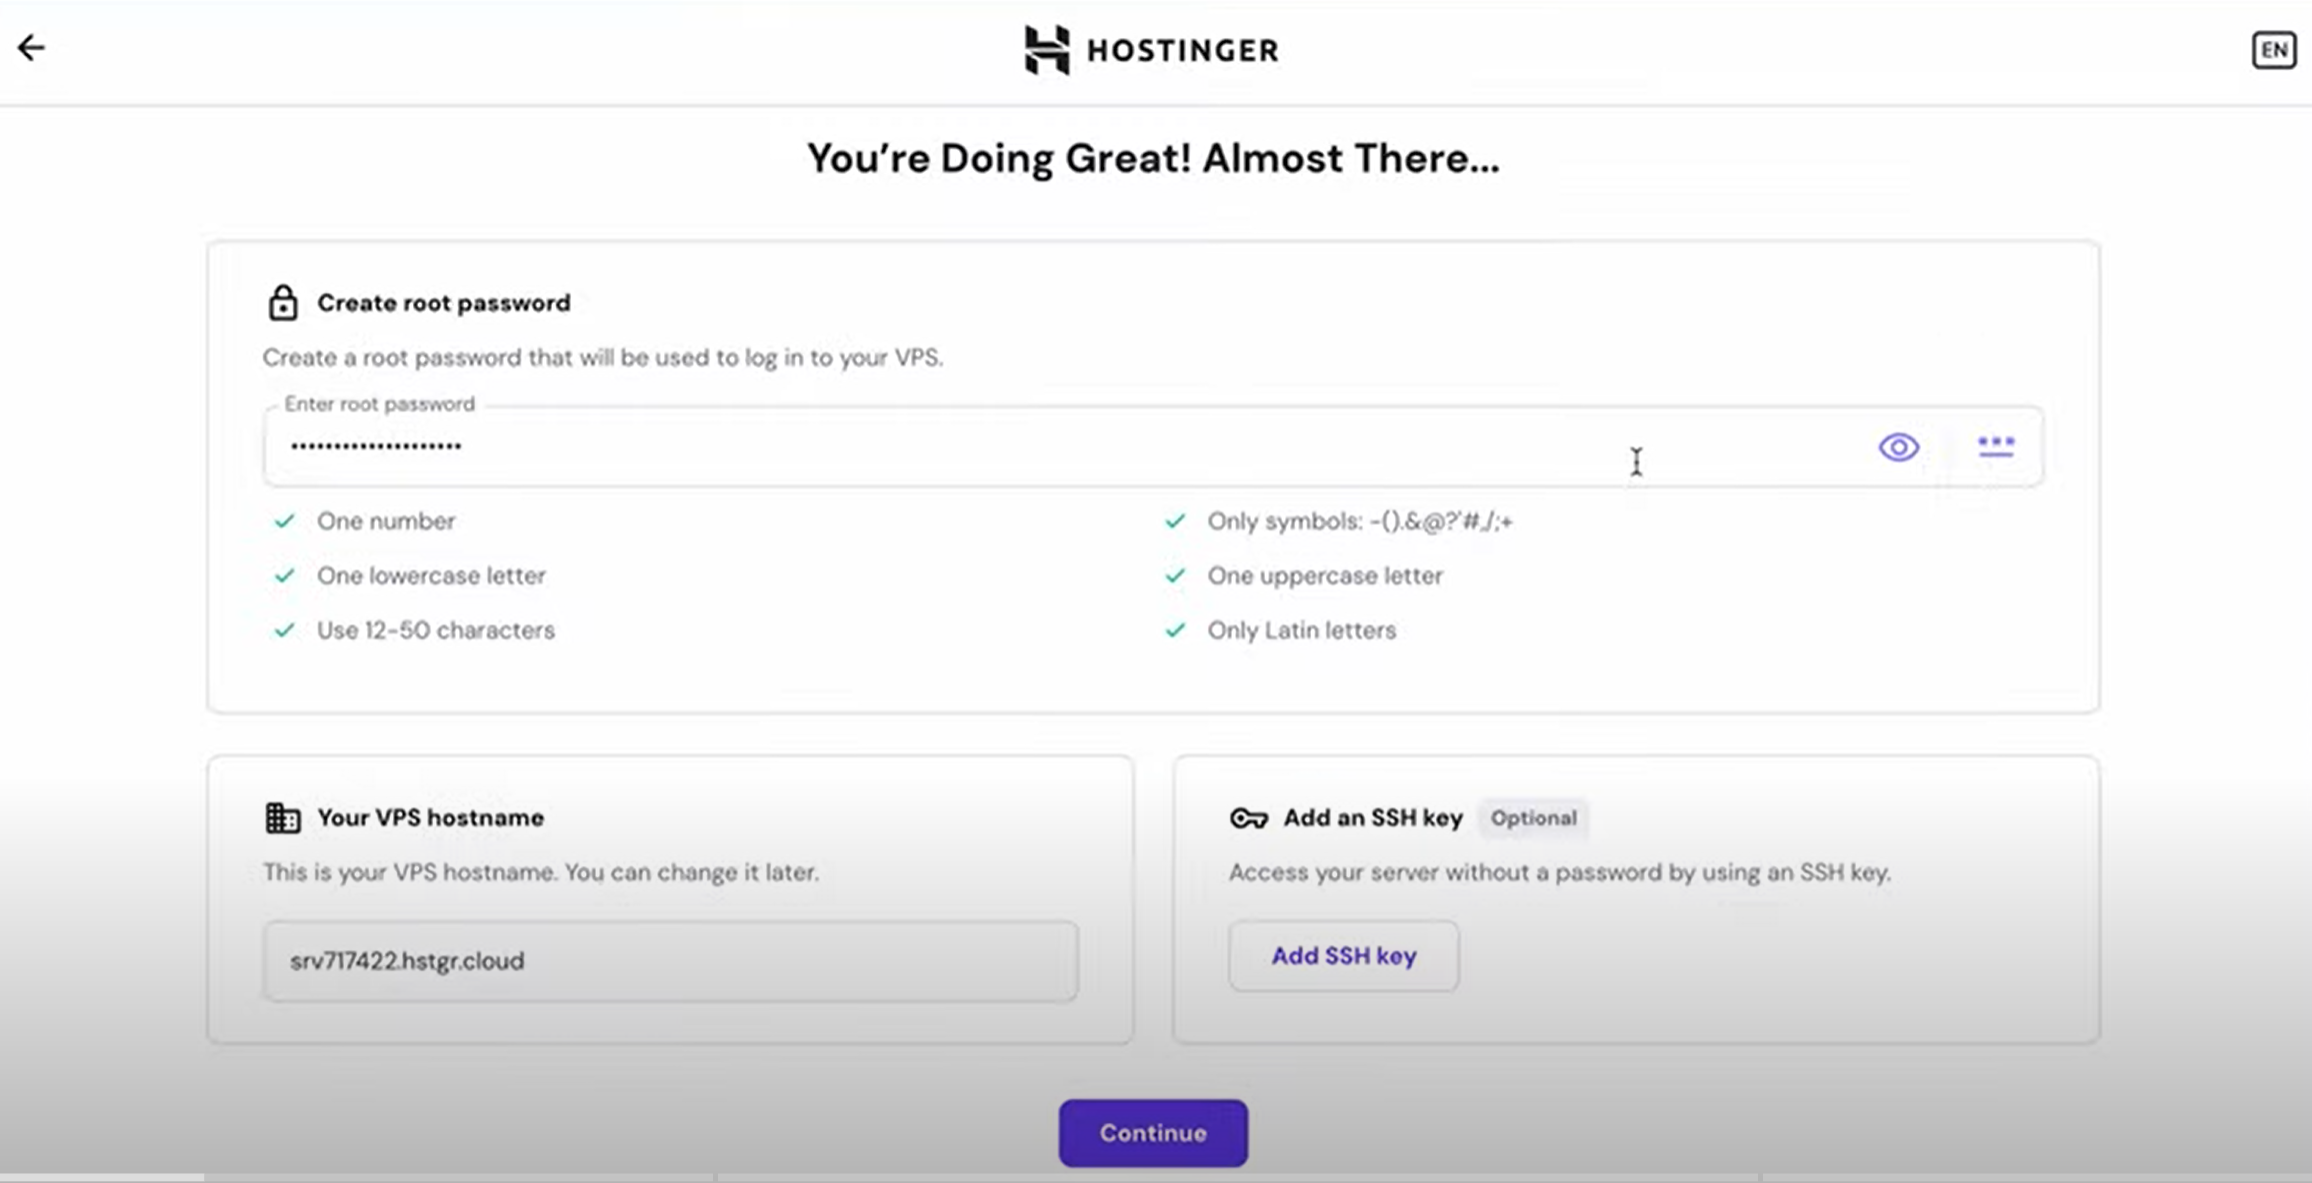
Choose your desire password & continue.
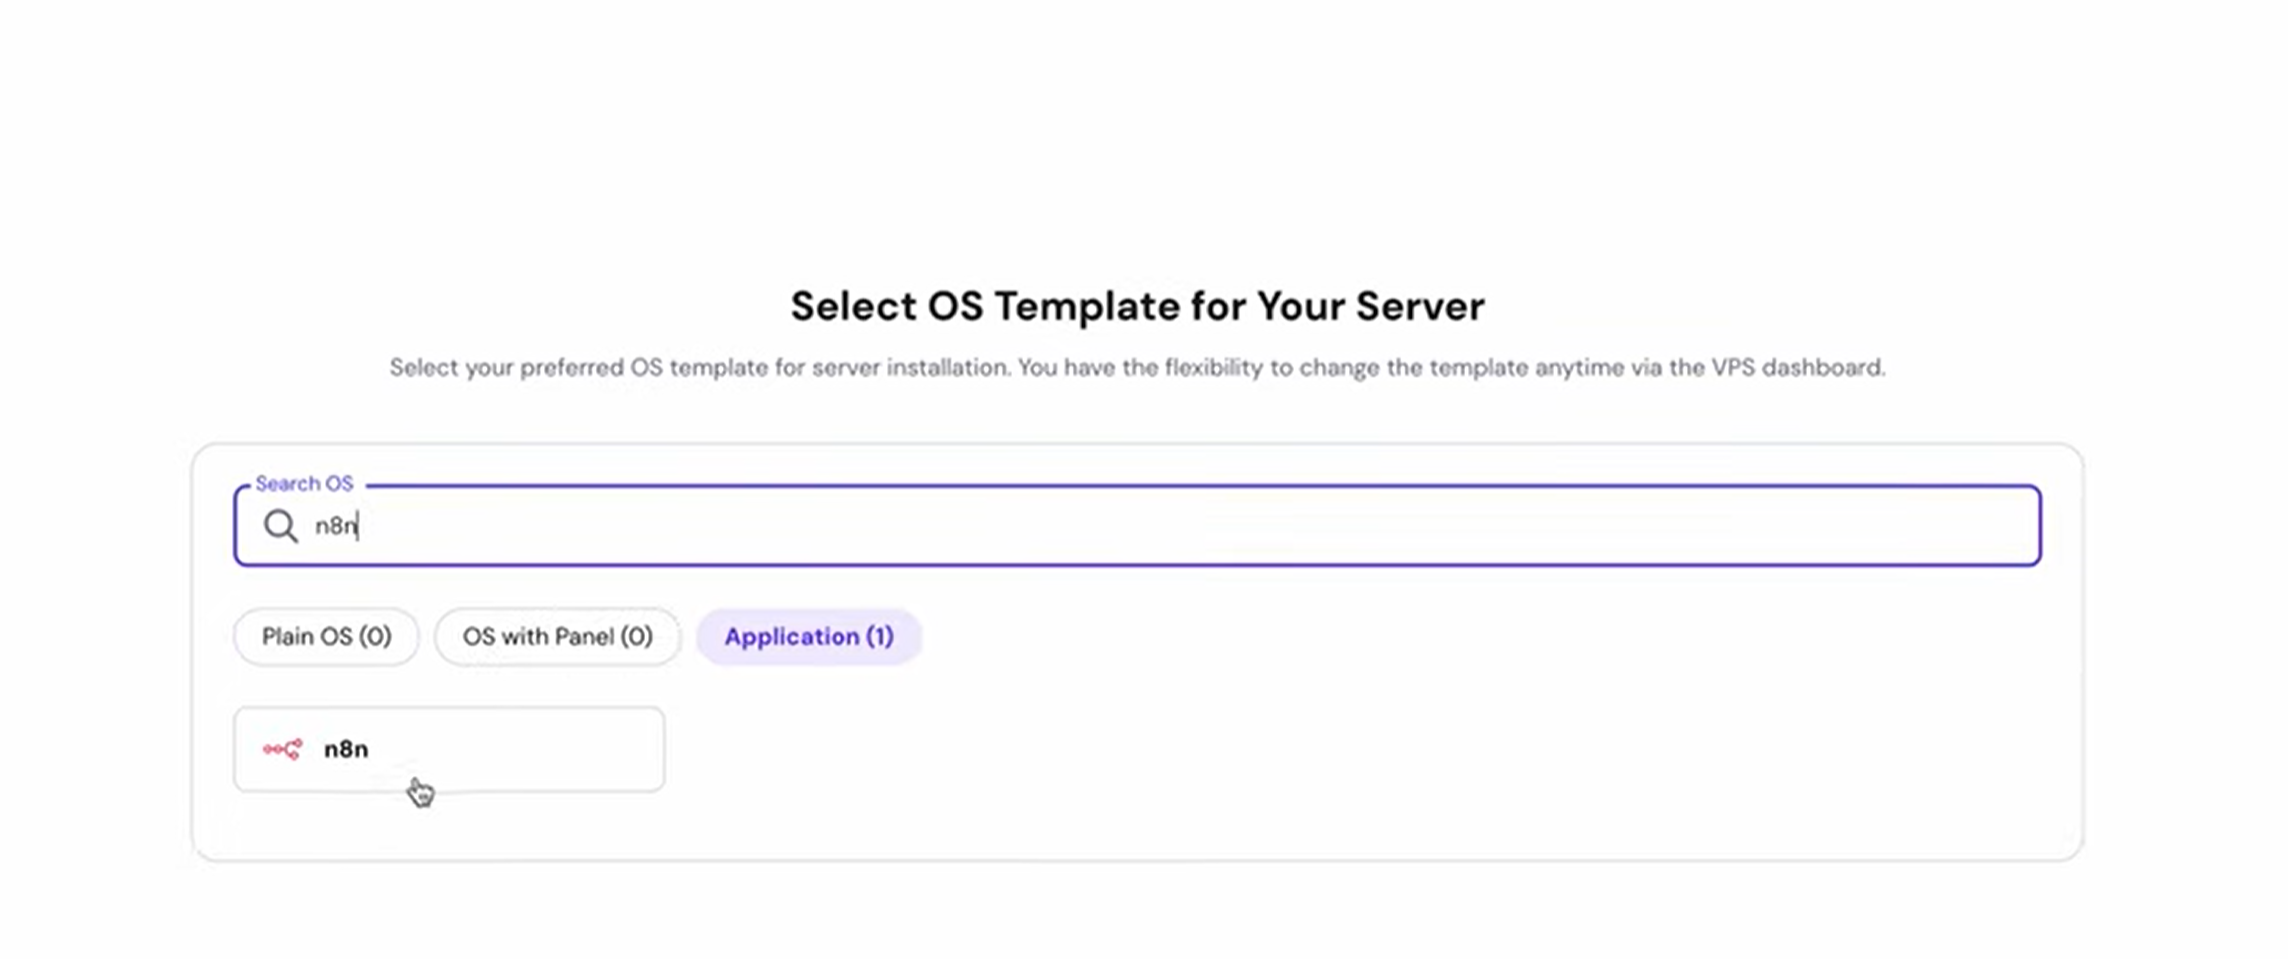
Write n8n into the search bar Select it and Setup it.
After reaching n8n dashboard.
Create a Workflow
You now have two options:
- Create a workflow from scratch (manual)
- Use a ready-made template (fast & easy)
Let’s use a pre-made workflow template made for faceless videos.
📥 Step 3: Import the Workflow Template
Download the Template
- Go to the Hostinger dashboard where N8N is hosted.
- Find the “Faceless Video Agent” template.
- Click Download.
Upload It to N8N
- In N8N, click “Start from Scratch”.
- Select “Import from File” and upload your downloaded file.
- Rename the workflow if you want.
You’ve now loaded the entire automation system!
🔌 Step 4: Connect the Tools (APIs)
To make the workflow work, you need to connect a few AI services by entering their API keys. Don’t worry—it’s easy.
1. Connect OpenAI (for ideas & content)
- Open the OpenAI node in N8N (look for the ⚠️ icon).
- Click “Create new credentials”.
- Go to OpenAI, log in, and click “Create secret key”.
- Copy the key and paste it into n8n.
All OpenAI nodes in your workflow will now be connected!
2. Connect Tavily AI
- Open the Tavily node.
- Sign up for Tavily using your Google account.
- Get your API key, copy it, and paste it into N8N.
3. Connect Claude (for scriptwriting)
- Open the Claude (Anthropic) node.
- Go to Claude, create an API key.
- Copy and paste it into N8N.
🎬 Step 5: Set Up Video Generation
Now that the script is ready, let’s build the actual video.
1. Create a JSON-to-Video Account
- Go to json-to-video.
- Sign in with your Google account.
- Check your email for an API key, copy it.
2. Create a Movie Template
- In JSON-to-Video, go to “Movie Templates” → “Add New”.
- Click the gear icon and then “Edit Template JSON.”
- Download the pre-made JSON file (link usually in description), copy the code, and paste it.
- Save and name your template.
3. Add the Template to n8n
- In your template dashboard, click “Show Template ID”.
- Copy the ID.
- In n8n, open the JSON-to-Video node and paste in the template ID.
4. Add the JSON-to-Video API Key
- Open the API node in n8n.
- Create new credentials and paste your key.
- Save.
Step 6: Set Up Email Delivery
We’ll send the finished video to your email.
- Open the email node in n8n.
- Click Create New Credentials and log in with your Google account.
- Give permissions and save.
Now your videos will be emailed to you automatically!
Step 7: Test Your Workflow
Time to try it out!
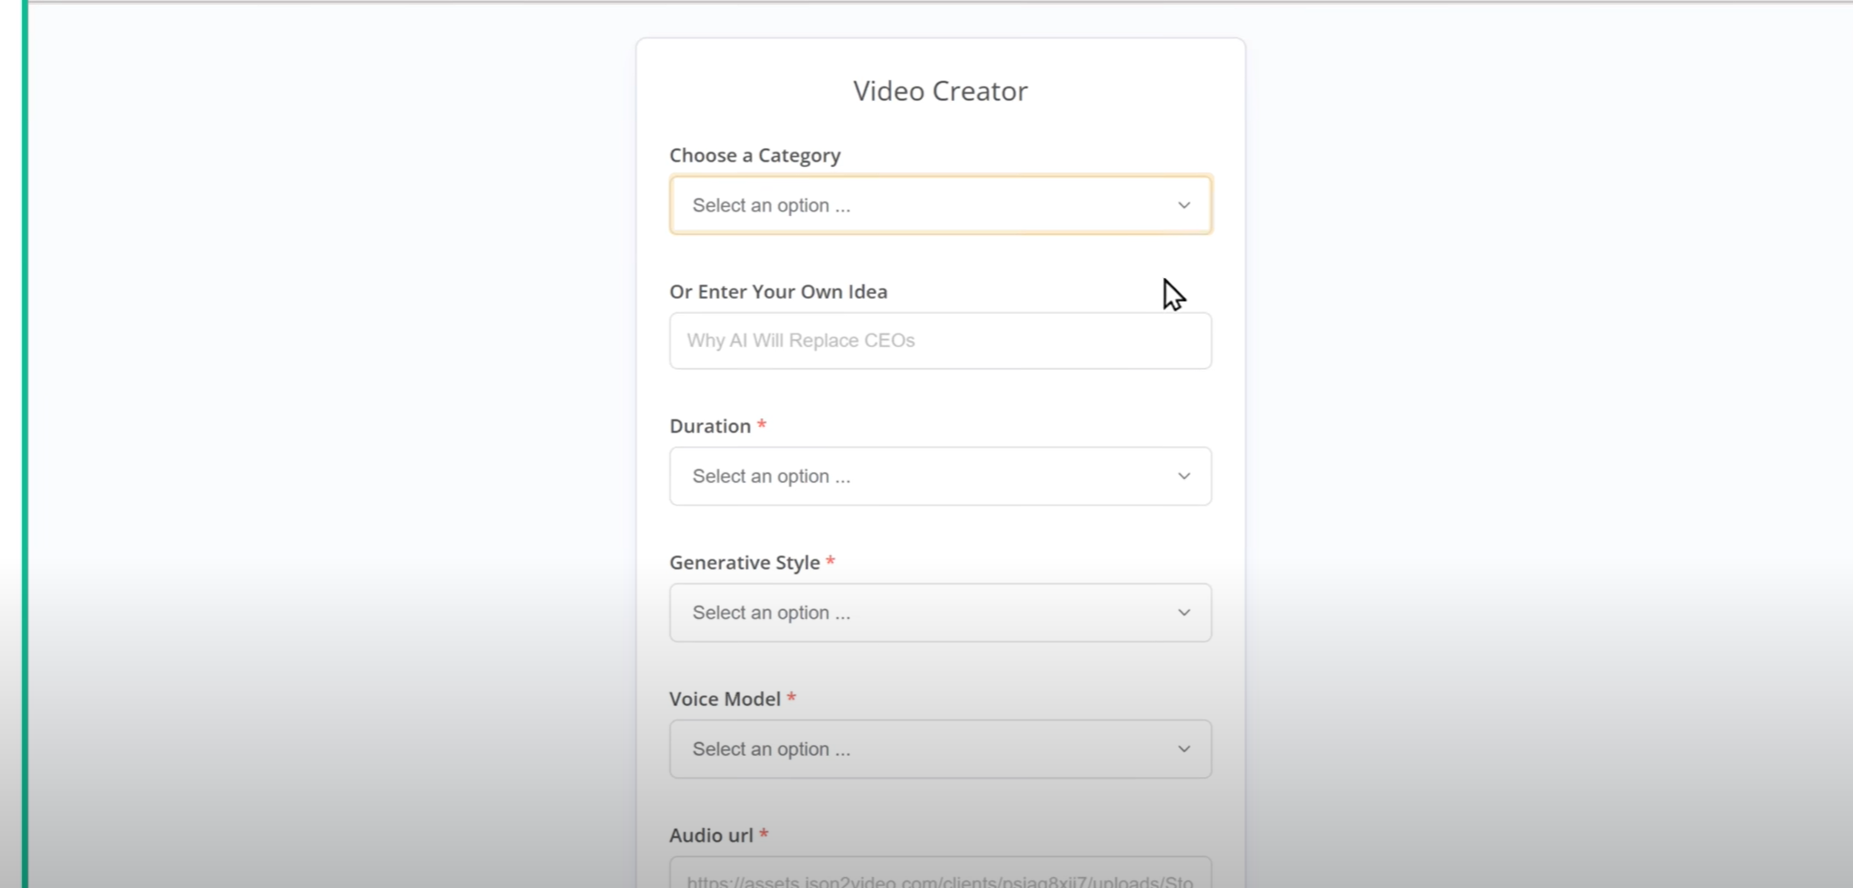
- Click “Test Workflow”.
- Choose a video category.
- Pick the video duration.
- Select your preferred video style and voice.(You can preview the voices from a link in the description.)
- Enter your email and click Submit.
The workflow will generate 10 video ideas. Pick one you like (or regenerate if needed), and the full video will be created and sent to your inbox.
You’ll get an email with a link to your finished video.
For example:
“What if the Moon Suddenly Disappeared?”
The system:
- Wrote the script
- Found images
- Made animations
- Added music
- And delivered a complete video to your inbox
